- 2024.04.28 09:58
Throughout, this guide we will show you how to create a cPanel account from WHM.Â
If you have an Internet Marketing / Online Empire shared web hosting account or a linux VPS / Dedicated server with cPanel then this feature is available to you.Â
Creating a cPanel account allows you to isolate a domain which would increase performances for the shared web hosting account, but more importantly it would isolate the filesystem which is a very important security layer for your hosting as it prevents from a malware to spread from one website to another.Â
So to create your new cPanel account for your new domain and project, you would need to follow the  steps shown below :Â
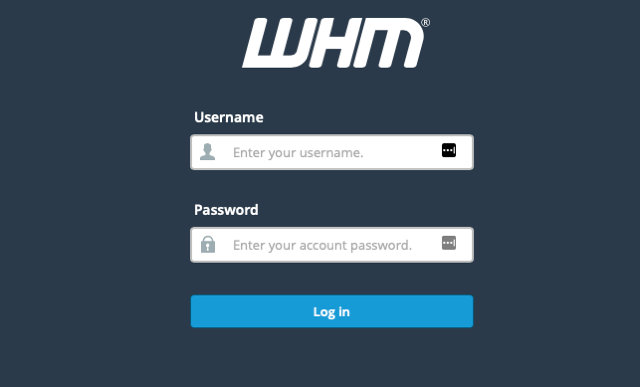
1) Login to your WHM Panel : https://serverip:2087Â or https://servername:2087Â
Â
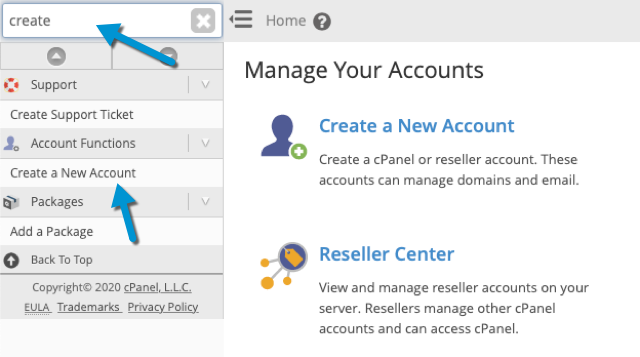
2) In the WHM Sidebar click on "Create a New Account"
 Â
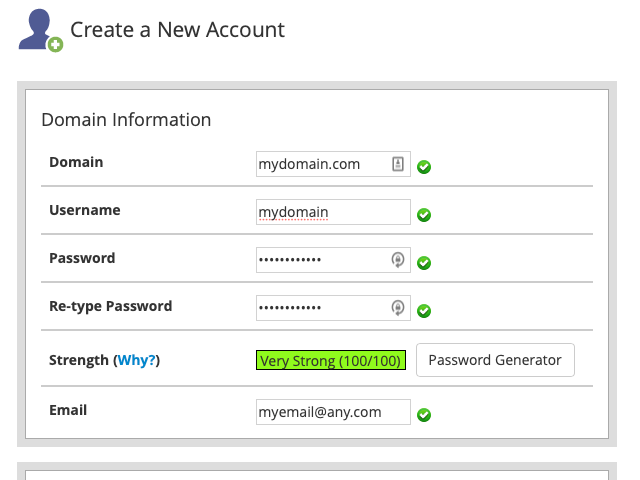
 3) You should be directed to a page allowing you to configure your account as detailed in full below. The first part of this page is about your domain name which you would need to fill.Â
**NOTICE : cPanel tends to automatically populate the username from your domain name, but we do recommend to randomize your username**
You may use the password generator to set your password
4) The second part is about the definition of the resources your account can use for you website. If you do not have a package set up, you would need to click select option manually, select save manual settings as a package so it can reused later, define the package name and select the feature list (default).Â
Then you can define the disk space, bandwidth, FTP accounts, MySQL databases, Max Addons domains if you want to add more domains to this very cPanel accounts and so on.Â
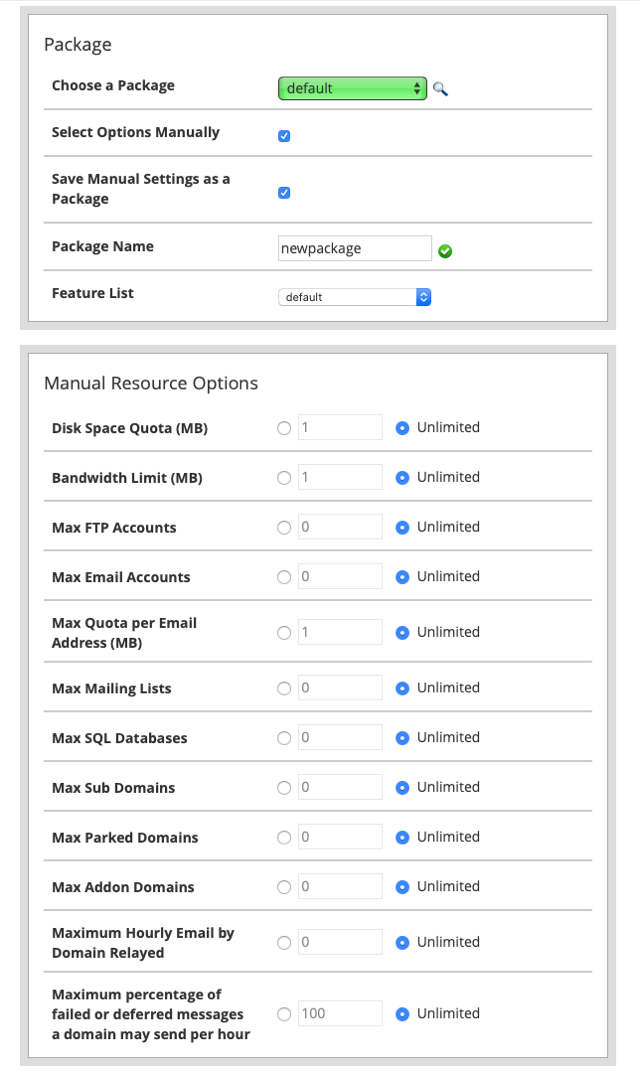
5) Then at the bottom, you would need to tick Enable DKIM and Enable SPF which would maximize your inboxing rate of any emails sent from your domain. Then for the DNS settings, if you have already set the nameservers for your domain (private nameservers for instance) you would need to select "Use the nameservers specified at the domain registrar" which would automatically apply them for your domains.Â
If you haven't set the nameservers yet in the case of a transfer or you intend to do it right after, you would need to select "Overwrite any Existing DNS zones for the account" and you can copy the nameservers shown in the box underneath to set them up along with your domain.Â
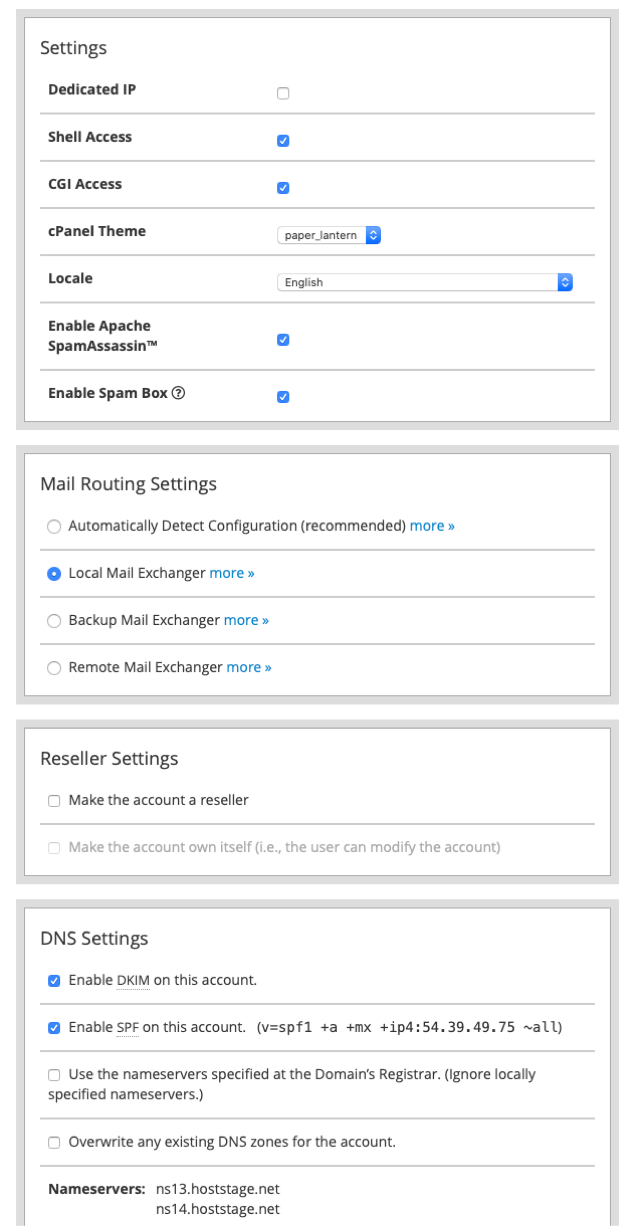
6) You may refer back to the Mail Routing Settings part from the previous step and verify that it is set to the default value (Local Mail Exchanger) unless you have a specific set up in mind. You may alter this setting later to set an external Mail Transporter for your domain.Â
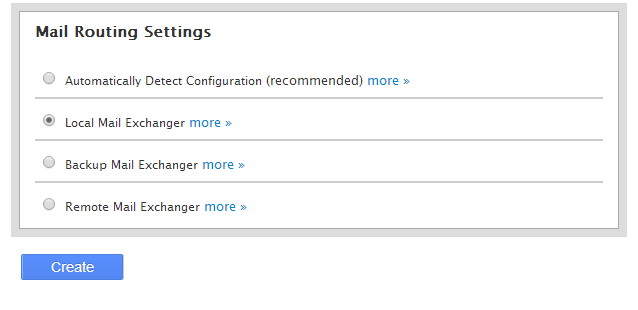
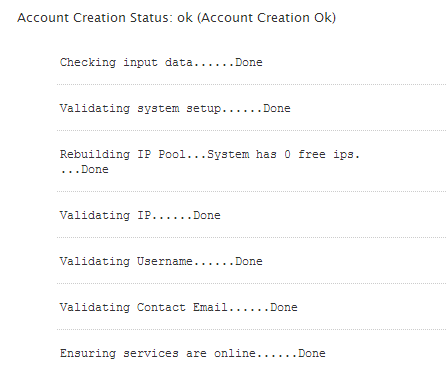
7) That's it! The final step is the account creation which requires only a click on the Create Account button and it will process the settings you have configured and give you a summary.Â
You can then access your cPanel account from the link below :Â
https://serverip:2083Â or https://servername:2087
